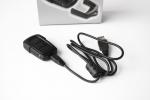
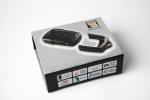
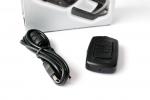
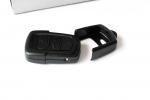
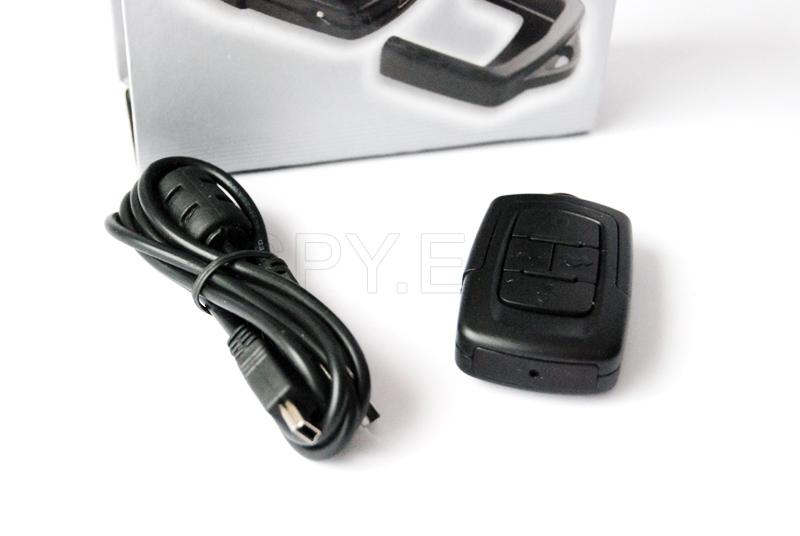
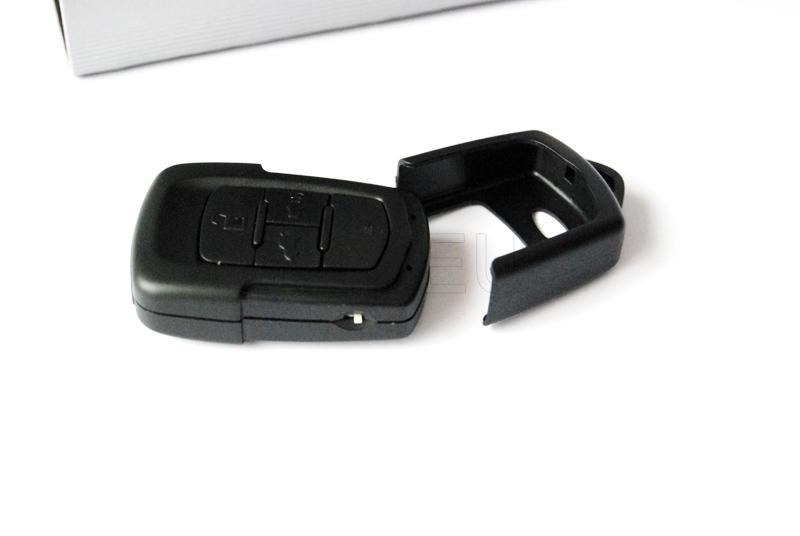
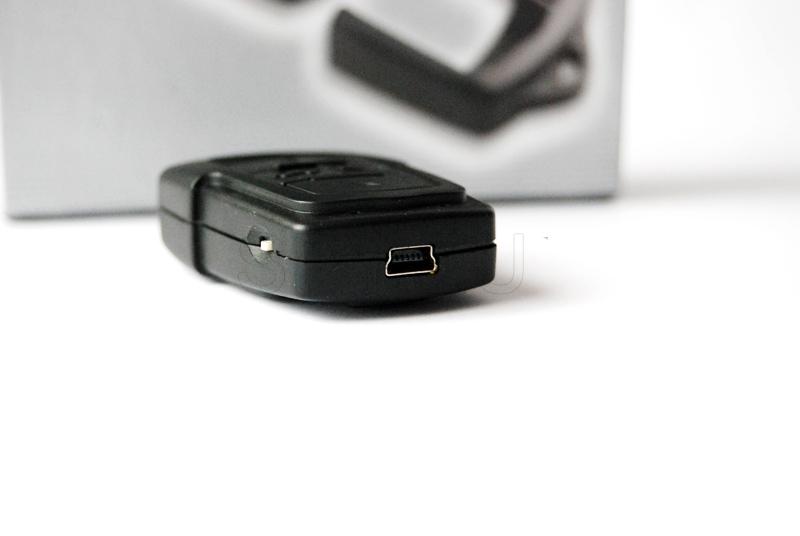
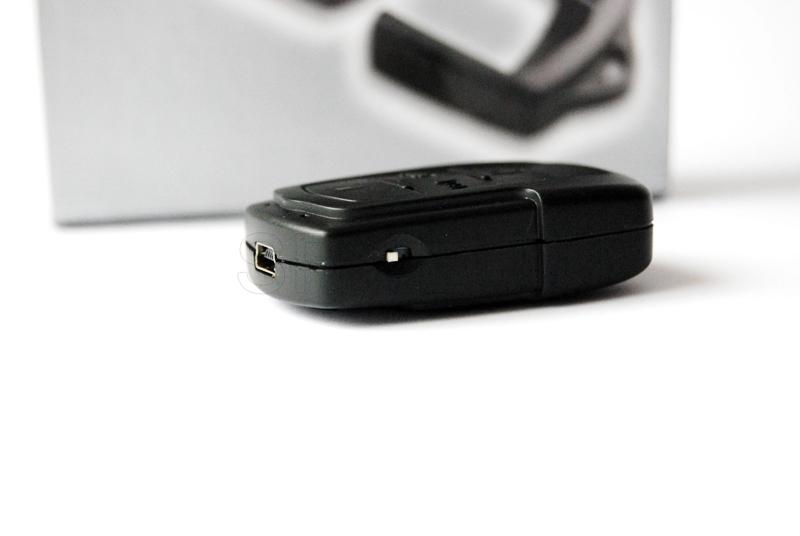
Remote control equipped with a hidden camera 8GB (ID: HD59)
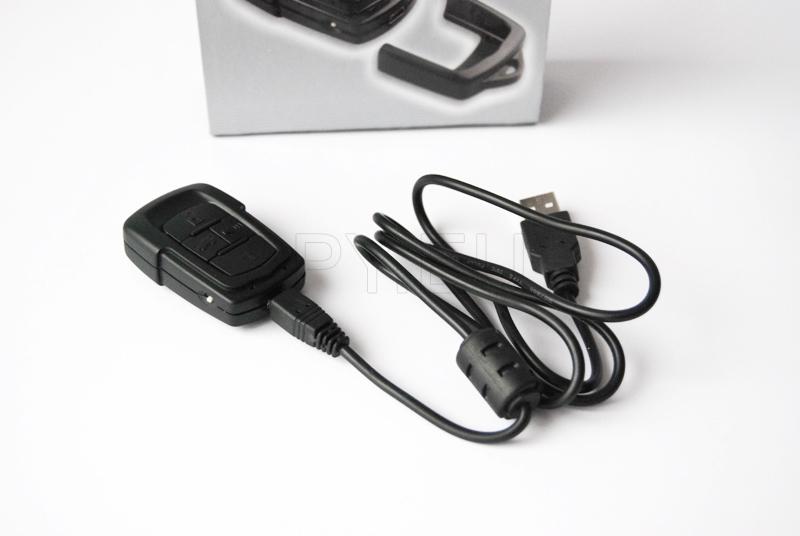
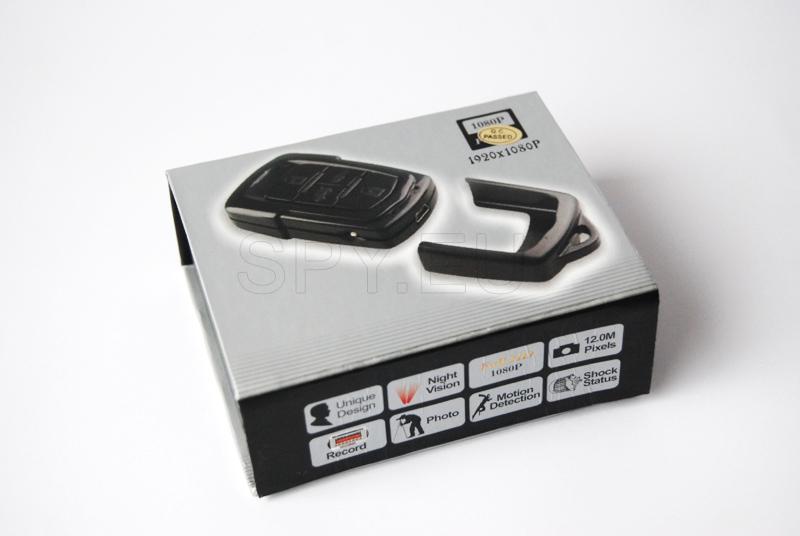
In this replica of car remote control there is installed a hidden camera that has 8 GB of internal memory, infrared diodes to help capturing in the dark and a software motion detector. Its work is indicated by vibration, and so there is no way raises suspicion. With it you can take pictures in JPEG format in resolution 4032x3024 pixels FullHD 1920x1080 video at 30 frames per second. The device has a rechargeable lithium-ion battery that can be charged from a USB port on your computer. Recordings can be transferred to your computer without having to install any drivers. The camera is automatically detected by the operating system.
Remote control equipped with a hidden camera 8GB
video Remote control equipped with a hidden camera 8GB
1. Appearance:
A - On / Off
B - button for changing modes
C - Button Recording
D - Backlight / motion detector and volume control /
E - Switch
F - Lenses
Note: motion detector and volume control are not active at the same time. It depends on the product itself which option is available.
2. Buttons presentation:
A - On / Off - This is a button that switches the product on / off for operation.
B - Changing Modes - the button to change modes you want. Pressing upward switches to photo mode, respectively down - video mode.
C - Record button - this is the button / knob, which starts video recording, takes photos or pauses already started video.
D - Backlight for night vision - it's a button that lets you shoot at low light, ie after sunset. Furthermore, there is an option on this button to start or motion detector or volume control.
E - Switch
F - camera lenses that capture the video.
Note: This is the first camera in a car keyring, which makes high-quality videos with high resolution and which is waterproof. Before you start using it, please read this instruction manual carefully and make sure that you understand everything correctly.
3. Presentation of the product:
This product is the first ever high quality that makes movies in high definition, as well as pictures and audio recording. A great feature for your investigations, lectures or business conferences which should capture everything to the smallest detail.
4. Operations
Connecting the camera to a computer - to tranfer already made files from your device to your computer, simply connect one end attached to the supplied USB cable to the device and the other end into the computer itself. If it happens that the computer does not recognize the camera, you must restart it by simply removing and re-inserting the cable.
Video - In order to start making video, press the first button, which is located near the USB slot, then press and hold for about 2 seconds and release the A button. Recording starts. When you want to turn it off, repeat the steps described here in reverse order.
IR illumination / detector / - To start infrared night vision and capture video, press and hold button D for three seconds. Already running mode of the infrared night vision. To stop it, press button D for about three seconds and release.
Photos - To take a picture, turn on the camera, press button B that is located close to the camera lens, then press and release the button, after which the picture is taken and the camera vibrates once. Press the button again A and a blue indicator blinks, which means that the camera records the image.
Motion detector / volume control - Turn on the camera, briefly press and hold D, the vibration should be included to vibrate six times, then stop. This means that the motion detector or the volume control is included as soon as one passes in front of the camera lens, it will start shooting. To stop it, press the button briefly D.
Portable Drive - Thanks to its internal memory, camera keychain can be used as a flash drive. To do this you simply need to connect your device to your computer using the supplied USB cable to the set, and removable disk icon will appear in the bottom right of the taskbar.
Setting the current time - To adjust the current time and it is displayed on the bottom corner of videos, photos, and in the browser, you must first connect the device to the computer, but once you have it turned off. Then turn it on when the bottom right icon appears on a removable disk, click on it twice and open the system folder. The root directory of the device, create a text file with whatever name you choose, but it must end in *. Txt. Then open it and write it in [date] and the current date in the following format:
05/06/2012
08:19:45
Then save the file and remove the device from your computer after you have it turned off.
Specifications:
AVI video format
Video encoding M-JPEG
Video resolution 1920 * 1080
Software available operating system or default AV software
Photos format JPG
Supported OS Windows ME/2000/XP/2003/VISTA; Mac OS 10.4; Linux
Voltage DC - 5V
Interface Transfer USB mini 4 pin
memory TF
Battery Li-ion rechargeable
Be used in a normal working environment / temperature of 0-40 degrees and humidity of 20-80% /, ie at room temperature. Do not use in a dusty place and do not leave in direct sunlight, so as not to damage the lens.

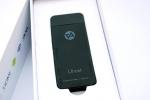
Remote control equipped with a hidden camera 8GB (ID: HD59)