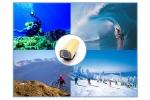
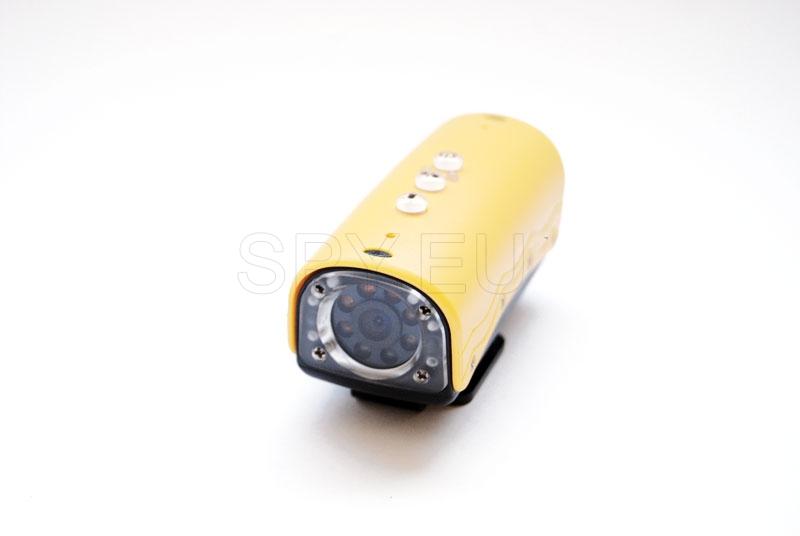
Camera for divers (ID: MC37)
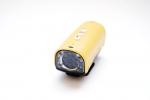
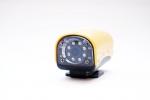
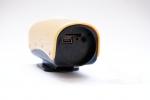
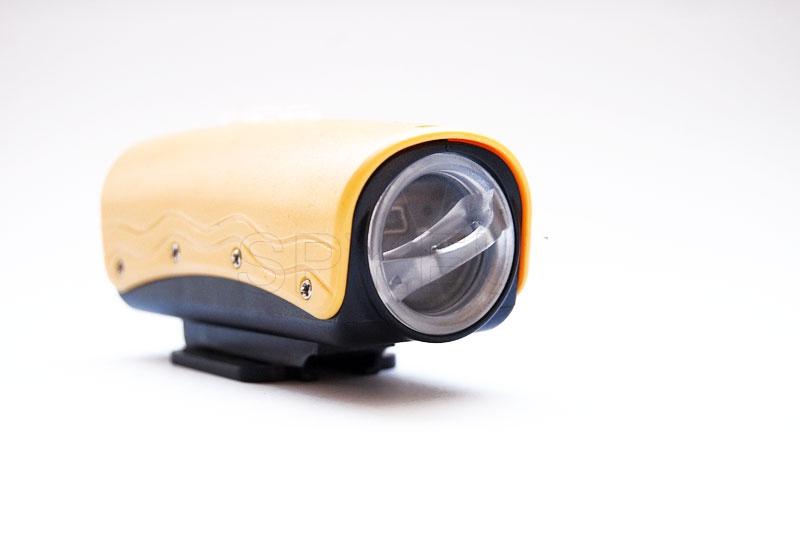
For the darker areas there are eight white LEDs that you can use in two modes.
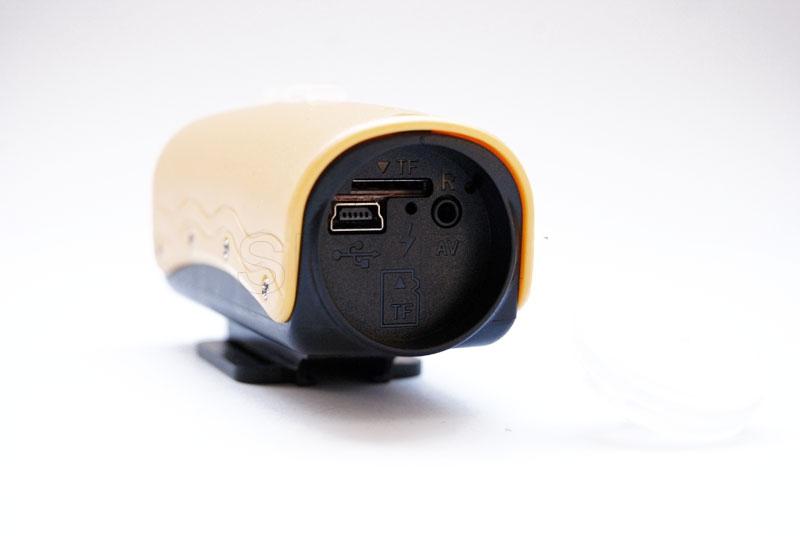
That camera has a microSD card slot, you can use a up to 32 GB class 6 memory cards.
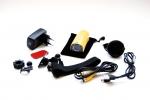
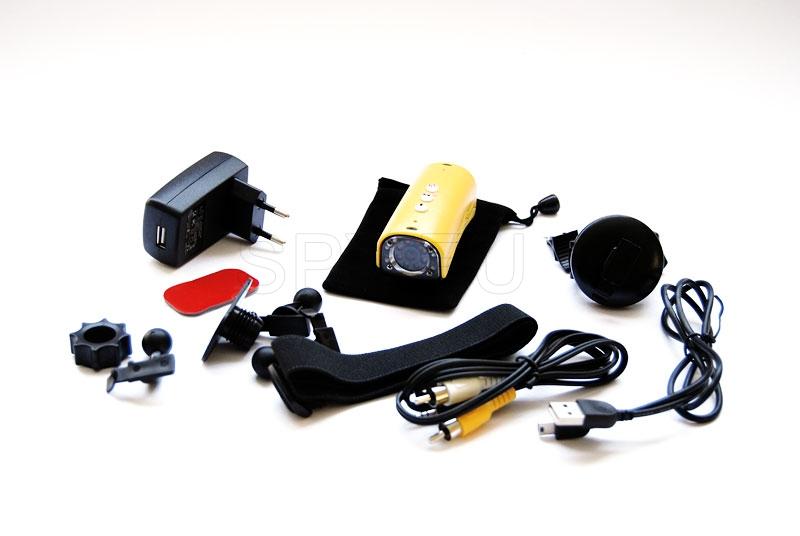
The package includes various gadgets pin cable for PC connection and charging cable for direct playback on a TV screen.
Camera for divers
video Camera for divers
.jpg) Installation:
Your mine water chamber, can be used as a hand held down and installed on a flat, horizontal plane by means of brackets of the stand. To mount it, follow these steps:
1. Remove the back cover: To mount through the stand, turn back and gently press to be able to open the back cover. Get it.
2. Then place the brackets and attach to the surface you want.
Accessories:
This product comes with the following additions and accessories:
1. Power adapter complies with all European and American standards.
2. Instruction in English.
3. Main stand.
4. CD with drivers.
5. USB cable.
6. Cable for AV / AV /
7. Storage pouch.
8. Hand strap.
Functional Specifications:
1. Launch:
- Insert the TF memory card, then press and hold for 2 seconds the power button. Release the button when the blue light is on. The product will begin to vibrate while it is initializing and establish standby. As soon as you stop, you can use it.
- It may take a while to settle in standby, according to the capacity of the card that you put.
- When recording high-quality HD video, type 720p, well used map is high-end in order to avoid damage or loss of information.
Note: If you forget to insert the card and turn the machine on, the blue LED blinks quickly a few seconds, then turns off.
2. Switching between the modes:
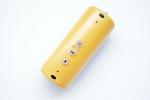
When you turn on the camera, press the button to switch between different modes and you can choose from 4 available:
- Mode 1: Mode waiting for manual video recording, where the blue LED lights up permanently.
- Mode 2: Mode waiting for hand making photographs where red light flashes constantly;
- Mode 3: Mode anticipation of recording after motion detection in which blue and yellow light up permanently.
- Mode 4: Mode waiting for the photography project upon motion detection in which red and yellow indicator light permanently.
3. Video:
In manual mode for video recording, press the button once to start the video, then the device will izvibrira once, then blue light flashes slowly. This means that your camera already doing video. To stop the video, press the same button again, the unit will again izvibrira once the blue LED illuminates continuously and the camera returns to standby mode, recordings are stored in the device memory.
Note: Each clip can be lasting no longer than 20 minutes. If you do not stop shooting, 20 minutes file is automatically saved to prevent a break, then began to write a new file with a maximum duration of 20 minutes. When out of the water for better sound, remove vodoustoychavata cap that keeps the microphone.
4. Photos:
In manual mode of doing photography, press the capture, then try to keep the camera still in one position until it vibrates. Once the vibration stops, the image was made and recorded.
When the camera takes a photo, the red indicator turns off. Keep stationary device.
5. Recording function Motion Detection:
- When the camera operated in this mode detects moving objects in its scope, it launched a video that lasts as long as you have set themselves: 10 seconds, 1 minute, 5 minutes, 10 minutes. After this time, the recording is automatically stopped and stored in the form of. AVI file in memory. Then begin recording the next file and so on until you stop the function or movement around the camera stops.
- When the memory is full, according to the settings, the device deletes the first file and record in their place new video or photo. If this feature is set to / be able to disable it from the menu / then in filling the memory card, the device will automatically turn off.
- The duration of the video recording in this mode is determined by the settings of the camera. Please, before you can use the function to familiarize yourself with the settings and change them according to their desires.
Note: When not using the camera under water, please remove the waterproof plug that keeps the microphone in order to get a better and clearer sound.
If three minutes after launch mode, the camera does not move and there is nothing to record, then a LED that indicates what mode is off and the camera will "sleep", ie enters sleep mode. In order to "wake up" and re-use, please press any button.
6. Pictures made under the motion detector:
- When the camera is in the process of making pictures by detecting movement when you are moving the camera, then the camera takes a single photograph and record the image to memory.
- When the memory is over, the card is full, then with this function to overlap, the last image will be saved on the first. If this feature is enabled, the device turns off.
7. Inclusion of LED lights:
Press once the button "LED light key", which is a bright light. You can do this in any mode of operation of the device. There are three modes in which you can turn them on.
Mode 1: If you include the eight lights, then you can capture color video.
Mode 2: At 4 include LED lights then light up enough to shoot high quality video and save power for a long time.
Mode 3: Disconnect all white LED lamps.
If you choose to use these 4 white LED lights and the 4 infrared lights, then you can choose from the following modes:
Mode 1: Include only the white LED lights - then you can shoot color video
Mode 2: Include only infrared light. Then your video will be black and white colors, because infrared light shoot only when ambient light is reduced. Infrared light is invisible and is not visible to the naked eye, so you can use this mode for covert surveillance.
Mode 3: Turn off all lights.
8. Manual and automatic shut-off device:
The chamber in order to save its power may be switched off itself. This is done either when you are about to work with it, or if your memory card becomes full. If you want yourself to turn it off, then just from the standby mode of operation, press and hold the button "power key" for about two seconds until the blue LED will flash three times and then turns off. Camera is turned off.
9. Download recorded content:
- Before connecting the device to your computer, turn it off.
- Then connect the USB cable, there is no need to then turn it on, it only starts once you connect to your computer. In the browser of the computer where you work with files and discs, see "Removable disk" in the folder DCIM/100DCIM will find the saved file, you can copy or delete.
10. PC camera function:
Before using this feature, you must install the drivers that will enable the camera to be launched as a PC camera. Once you do the disc that comes with your camera, then turn it on, and then connect to the computer. Once you do, on your computer and exactly manadzhera file icon will appear in "Camera", then the camera goes into PC camera function. Moreover, you can use it as an opportunity to actually monitor an object or place.
11. Charging:
Load socket with the supplied charger and the red LED will light while charging. When he goes out, your camera is fully charged and ready to use. A standard charge takes about three hours. To expand the potential of the battery is recommended charging takes place only through the adapter for charging. In the computer is not preferable.
12. Video recording while charging:
While the camera is charging adapter, you can safely use any function such as video, photos and more.
13. With TV-out function:
To use the TV function of the camera, you will need to connect it to your television. For this purpose, connect the supplied AV cable to set the camera to its output to TV, the yellow plug connects to the video input of the TV marked with yellow and white connector - and audio input / white /. Adjust the volume according to the directions, which came your TV.
Then turn on the camera, which will light up red and blue light, and the last recorded video clip or photo will be reproduced on the monitor.
To start a video manually, press only the button for exclusion, which in this case will act as a going up or button with lights that includes LED lights, which even at this time plays the role of selector down. Once the right side of the monitor icon came in the form of television camera, this means that the selected file is a video. To run it, press the button to confirm.
Installation:
Your mine water chamber, can be used as a hand held down and installed on a flat, horizontal plane by means of brackets of the stand. To mount it, follow these steps:
1. Remove the back cover: To mount through the stand, turn back and gently press to be able to open the back cover. Get it.
2. Then place the brackets and attach to the surface you want.
Accessories:
This product comes with the following additions and accessories:
1. Power adapter complies with all European and American standards.
2. Instruction in English.
3. Main stand.
4. CD with drivers.
5. USB cable.
6. Cable for AV / AV /
7. Storage pouch.
8. Hand strap.
Functional Specifications:
1. Launch:
- Insert the TF memory card, then press and hold for 2 seconds the power button. Release the button when the blue light is on. The product will begin to vibrate while it is initializing and establish standby. As soon as you stop, you can use it.
- It may take a while to settle in standby, according to the capacity of the card that you put.
- When recording high-quality HD video, type 720p, well used map is high-end in order to avoid damage or loss of information.
Note: If you forget to insert the card and turn the machine on, the blue LED blinks quickly a few seconds, then turns off.
2. Switching between the modes:
When you turn on the camera, press the button to switch between different modes and you can choose from 4 available:
- Mode 1: Mode waiting for manual video recording, where the blue LED lights up permanently.
- Mode 2: Mode waiting for hand making photographs where red light flashes constantly;
- Mode 3: Mode anticipation of recording after motion detection in which blue and yellow light up permanently.
- Mode 4: Mode waiting for the photography project upon motion detection in which red and yellow indicator light permanently.
3. Video:
In manual mode for video recording, press the button once to start the video, then the device will izvibrira once, then blue light flashes slowly. This means that your camera already doing video. To stop the video, press the same button again, the unit will again izvibrira once the blue LED illuminates continuously and the camera returns to standby mode, recordings are stored in the device memory.
Note: Each clip can be lasting no longer than 20 minutes. If you do not stop shooting, 20 minutes file is automatically saved to prevent a break, then began to write a new file with a maximum duration of 20 minutes. When out of the water for better sound, remove vodoustoychavata cap that keeps the microphone.
4. Photos:
In manual mode of doing photography, press the capture, then try to keep the camera still in one position until it vibrates. Once the vibration stops, the image was made and recorded.
When the camera takes a photo, the red indicator turns off. Keep stationary device.
5. Recording function Motion Detection:
- When the camera operated in this mode detects moving objects in its scope, it launched a video that lasts as long as you have set themselves: 10 seconds, 1 minute, 5 minutes, 10 minutes. After this time, the recording is automatically stopped and stored in the form of. AVI file in memory. Then begin recording the next file and so on until you stop the function or movement around the camera stops.
- When the memory is full, according to the settings, the device deletes the first file and record in their place new video or photo. If this feature is set to / be able to disable it from the menu / then in filling the memory card, the device will automatically turn off.
- The duration of the video recording in this mode is determined by the settings of the camera. Please, before you can use the function to familiarize yourself with the settings and change them according to their desires.
Note: When not using the camera under water, please remove the waterproof plug that keeps the microphone in order to get a better and clearer sound.
If three minutes after launch mode, the camera does not move and there is nothing to record, then a LED that indicates what mode is off and the camera will "sleep", ie enters sleep mode. In order to "wake up" and re-use, please press any button.
6. Pictures made under the motion detector:
- When the camera is in the process of making pictures by detecting movement when you are moving the camera, then the camera takes a single photograph and record the image to memory.
- When the memory is over, the card is full, then with this function to overlap, the last image will be saved on the first. If this feature is enabled, the device turns off.
7. Inclusion of LED lights:
Press once the button "LED light key", which is a bright light. You can do this in any mode of operation of the device. There are three modes in which you can turn them on.
Mode 1: If you include the eight lights, then you can capture color video.
Mode 2: At 4 include LED lights then light up enough to shoot high quality video and save power for a long time.
Mode 3: Disconnect all white LED lamps.
If you choose to use these 4 white LED lights and the 4 infrared lights, then you can choose from the following modes:
Mode 1: Include only the white LED lights - then you can shoot color video
Mode 2: Include only infrared light. Then your video will be black and white colors, because infrared light shoot only when ambient light is reduced. Infrared light is invisible and is not visible to the naked eye, so you can use this mode for covert surveillance.
Mode 3: Turn off all lights.
8. Manual and automatic shut-off device:
The chamber in order to save its power may be switched off itself. This is done either when you are about to work with it, or if your memory card becomes full. If you want yourself to turn it off, then just from the standby mode of operation, press and hold the button "power key" for about two seconds until the blue LED will flash three times and then turns off. Camera is turned off.
9. Download recorded content:
- Before connecting the device to your computer, turn it off.
- Then connect the USB cable, there is no need to then turn it on, it only starts once you connect to your computer. In the browser of the computer where you work with files and discs, see "Removable disk" in the folder DCIM/100DCIM will find the saved file, you can copy or delete.
10. PC camera function:
Before using this feature, you must install the drivers that will enable the camera to be launched as a PC camera. Once you do the disc that comes with your camera, then turn it on, and then connect to the computer. Once you do, on your computer and exactly manadzhera file icon will appear in "Camera", then the camera goes into PC camera function. Moreover, you can use it as an opportunity to actually monitor an object or place.
11. Charging:
Load socket with the supplied charger and the red LED will light while charging. When he goes out, your camera is fully charged and ready to use. A standard charge takes about three hours. To expand the potential of the battery is recommended charging takes place only through the adapter for charging. In the computer is not preferable.
12. Video recording while charging:
While the camera is charging adapter, you can safely use any function such as video, photos and more.
13. With TV-out function:
To use the TV function of the camera, you will need to connect it to your television. For this purpose, connect the supplied AV cable to set the camera to its output to TV, the yellow plug connects to the video input of the TV marked with yellow and white connector - and audio input / white /. Adjust the volume according to the directions, which came your TV.
Then turn on the camera, which will light up red and blue light, and the last recorded video clip or photo will be reproduced on the monitor.
To start a video manually, press only the button for exclusion, which in this case will act as a going up or button with lights that includes LED lights, which even at this time plays the role of selector down. Once the right side of the monitor icon came in the form of television camera, this means that the selected file is a video. To run it, press the button to confirm.





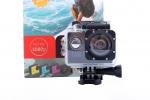
Camera for divers (ID: MC37)