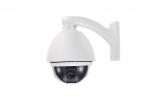
High speed dome camera (ID: V05)
The optical zoom is x10 and the digital zoom is x10, day and night feature, and several focus modes, gain and control of white balance.
The camera has a 360 degree range of rotation horizontally and 180 vertically, with a maximum speed of rotation 360 degrees for one second.
There is an option to connect it to keyboards and recorders in RS-485 interface.
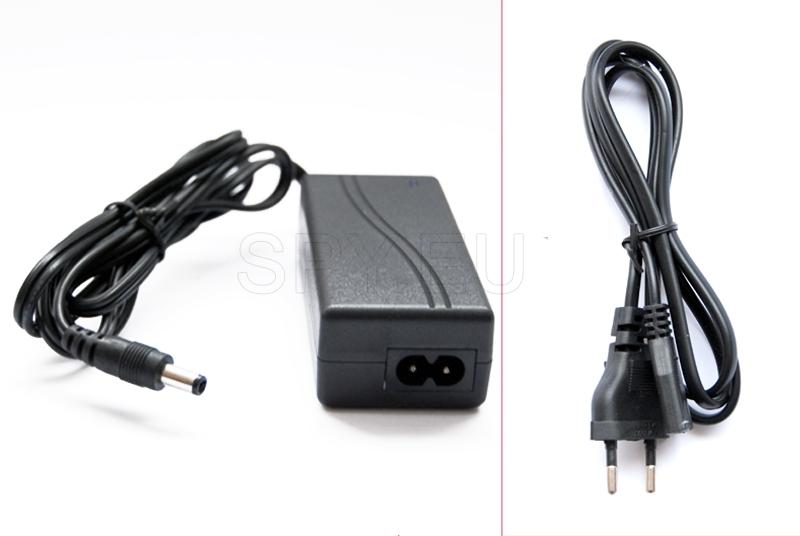
Powered by 12 V DC / 0.8 A.
Size 128x187 mm.
High speed dome camera
video High speed dome camera
.jpg)
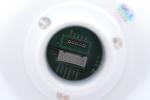
.jpg) Before installing the camera, it is necessary to make adjustments by using the DIP switches to set the ID of the camera communication protocol too.
Before installing the camera, it is necessary to make adjustments by using the DIP switches to set the ID of the camera communication protocol too.
.jpg) Setting the ID of the camera
Setting the ID-it uses the camera binary code. E.g.:
Setting the ID of the camera
Setting the ID-it uses the camera binary code. E.g.:
.jpg) Setting up the communication protocol:
Select the correct protocol for your camera by using DIP switches
Setting up the communication protocol:
Select the correct protocol for your camera by using DIP switches
.jpg)
.jpg) If you want to control the camera via DVR or Pan / Tilt controllers, their protocols must be identical to that of the camera. Otherwise you will not be able to operate the camera.
If you change the protocol of the camera by DIP S / W key, then the changes will be accepted after you restart the camera. / Off and on again /
Factory protocol that comes your new camera is elco-D, 2400 bps
If you want to control the camera via DVR or Pan / Tilt controllers, their protocols must be identical to that of the camera. Otherwise you will not be able to operate the camera.
If you change the protocol of the camera by DIP S / W key, then the changes will be accepted after you restart the camera. / Off and on again /
Factory protocol that comes your new camera is elco-D, 2400 bps
.jpg) Unlike pin3, pin4 is only for connecting the camera and therefore not in this form, the switches can be changed by the user. This is the only setting which need to remain in the way in which the camera has arrived. If any of these are changed, it is likely that some of the given operation may not be performed.
Pin3 - select PAL / NTSC systems for video playback on the camera. This number should not be changed.
Wiring:
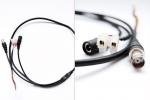
To operate your dome security camera in sync with the video recorder and controller, receiving quality audio and video, you will need to connect several cables. The following scheme:
Unlike pin3, pin4 is only for connecting the camera and therefore not in this form, the switches can be changed by the user. This is the only setting which need to remain in the way in which the camera has arrived. If any of these are changed, it is likely that some of the given operation may not be performed.
Pin3 - select PAL / NTSC systems for video playback on the camera. This number should not be changed.
Wiring:
To operate your dome security camera in sync with the video recorder and controller, receiving quality audio and video, you will need to connect several cables. The following scheme:
.jpg) Power connection:
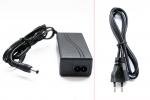
Before connecting the system already wired the camera to the main power circuit, check carefully the voltage and the current network capacity / voltage grid /. The camera operates at a power of 12V, output voltage in the range of 11 to 18V and consumes 0.8 A per hour
RS-485 communication:
To be able to manage your dome camera from a distance, you'll need to program the controller itself, which is a keyboard. You can manage more than one dome camera at the same time from one place to stay informed about everything that is happening. To this end the cameras are connected in parallel with the controller, as shown here
Power connection:
Before connecting the system already wired the camera to the main power circuit, check carefully the voltage and the current network capacity / voltage grid /. The camera operates at a power of 12V, output voltage in the range of 11 to 18V and consumes 0.8 A per hour
RS-485 communication:
To be able to manage your dome camera from a distance, you'll need to program the controller itself, which is a keyboard. You can manage more than one dome camera at the same time from one place to stay informed about everything that is happening. To this end the cameras are connected in parallel with the controller, as shown here
.jpg) Video connection:
The camera can be connected to the recorder with a BNC coaxial cable
Connecting the alarm input:
Sensor input
Video connection:
The camera can be connected to the recorder with a BNC coaxial cable
Connecting the alarm input:
Sensor input
 Before connecting the sensors you need to measure the voltage and type of the output signal of the sensor. Since the types of the output signal of the various sensors are divided into open-collector, and the type of output voltage of a single key and then the wiring must be carried out correctly, that is consistent with these species.
.jpg) using the camera:
- Before connecting the unit to the mains, please check that all cables are properly
- ID number of the camera on the controller must be identical to that of the chamber in order to receive the signal. The actual ID of the camera can be checked by reading the DIP switches on the camera itself.
- If your controller supports multiprotokoling, each protocol must be adjusted so that it coincides with that of the chamber from which radiates.
Turn the OSD menu:
Functions of the menu: In this menu you will find functions such as Preset, Pattern, Swing, Group and Alarm. For each entry there that will allow you to configure function according to the application used.
How to get the menu: To do this press
using the camera:
- Before connecting the unit to the mains, please check that all cables are properly
- ID number of the camera on the controller must be identical to that of the chamber in order to receive the signal. The actual ID of the camera can be checked by reading the DIP switches on the camera itself.
- If your controller supports multiprotokoling, each protocol must be adjusted so that it coincides with that of the chamber from which radiates.
Turn the OSD menu:
Functions of the menu: In this menu you will find functions such as Preset, Pattern, Swing, Group and Alarm. For each entry there that will allow you to configure function according to the application used.
How to get the menu: To do this press .jpg) Presets:
- Function: Pre / Preset / function enables you to record up to 127 positions. The number of the function in question can be from 1 to 128, but the default number 95 is reserved for the OSD.
- Set the preliminary functions / preset /: Follow the steps -
Presets:
- Function: Pre / Preset / function enables you to record up to 127 positions. The number of the function in question can be from 1 to 128, but the default number 95 is reserved for the OSD.
- Set the preliminary functions / preset /: Follow the steps - .jpg) System information - Earning a system information about the device and software
Display Setup - Available / Unavailable OSD screen options on the main screen
Dome Camera Setup - Setup and configuration of various options and features of the camera
System Initialize - Recognize system settings and return to the factory default
Display Setup menu
System information - Earning a system information about the device and software
Display Setup - Available / Unavailable OSD screen options on the main screen
Dome Camera Setup - Setup and configuration of various options and features of the camera
System Initialize - Recognize system settings and return to the factory default
Display Setup menu
 This menu gives access on or off the OSD display on the main screen, and hence the functions available in this menu. If an item is set to AUTO, it will appear in the menu only when its value is changed.
Determination of positions / Compass Direction Setup /
 Privacy Zone Mask Setup / Masking /
 You can use a mask from 1 to 4 to make your camera invisible to others people.
No mask - From one to four [1-4]
Select a mask. If the selected mask already has data, then the camera will move to the settings
Display - [ON / OFF]
Select when you want it or not, the mask to display images.
Delete - [CANCEL / OK]
Delete entries in your chosen number mask
Camera Setup
 - [AUTO / MANUAL / SEMIAUTO]
Selecting the way to use your camera focus on the objects. As you can guess by the name, AUTO is automatic method for focusing, which makes the machine itself at the discretion of the processor until MANUAL is the manual method where the operator only has to do it. In SEMIAUTO a combination of the previous two modes - Auto and Manual.
Digital Zoom / Digital Zoom / - [ON / OFF]
Did you use digital zoom during the observation or not. If you select OFF, optical zoom, it will be available, but the zoom in the picture will not be complete and quality.
Motion detection / Motion Setup / - PTZ / Pan / Tilt / options
 Motion Lock - [ON / OFF]
From here you can configure only a group of options. To delete them leads to the OSD.
Power Up Action - [ON / OFF]
Same as in the section Other Options
Auto Flip - [ON / OFF]
Self flip or not – independently.
Jog Max Speed - [1-360 sec]
This is the speed at which the increase is made of the digital camera. It can be from 1 to 360 seconds.




High speed dome camera (ID: V05)